

This is the remarkable true story about how I built a sturdy trailer extension and got 27 stitches in the process. I recommend the former, though I included instructions on how I got the latter just in case you’re interested.
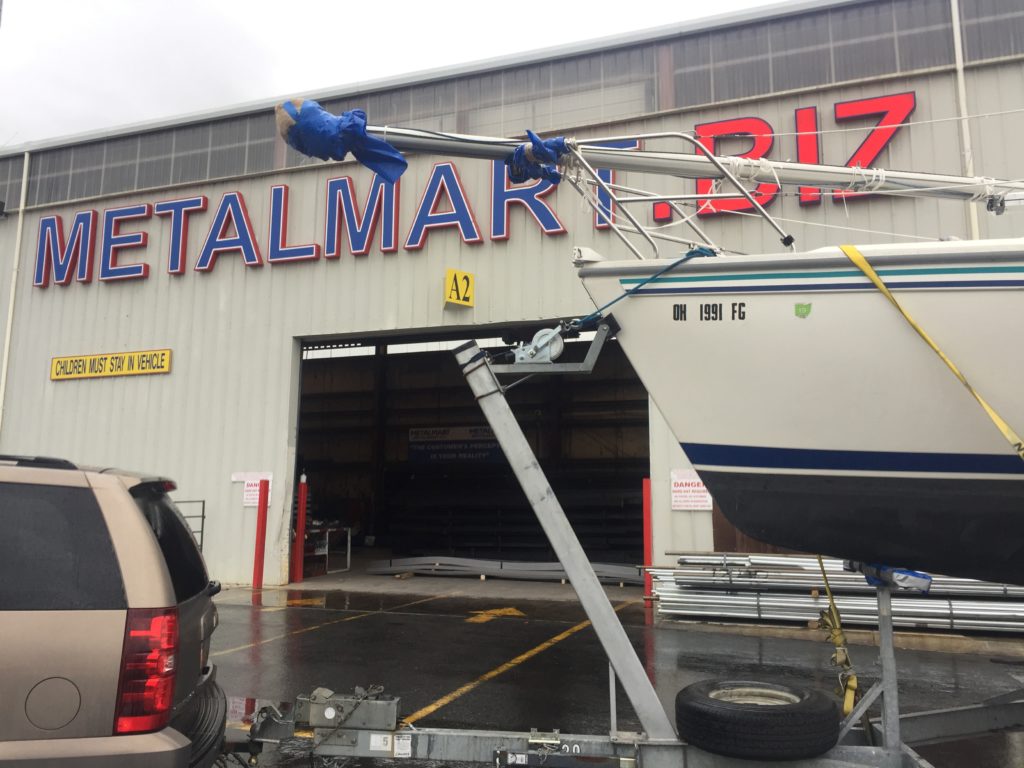
The previous owner of my Catalina 270 took her in and out of the water with a crane. Unfortunately on my lake, there are no cranes, so we have to launch the boat by backing the trailer into the lake. When the lake is low or the ramps shallow, it is necessary to extend the trailer out further into the water than the tow vehicle can go. One way to accomplish this task is by building an extension to go between the trailer and tow vehicle, which allows the trailer to be let down further out into the water.
On my prior boat, I used a strap and rolling wheel on the front of the trailer to lower the boat in. The problem with the strap (or rope, or cable) method is that you can’t push the trailer further into the water. Often times there are large ruts or pits in the dirt beneath the ramp caused by power boaters gunning their engines to push boats on and off trailers. To pass over these ruts using a strap, you have to let the boat back quickly down the ramp to build up enough momentum to roll through the ruts, and I always worried that a deep rut on one side or the other would tip the trailer to the side. It never did, but I always imagined it happening.
So this time I wanted more control over the boat, and decided to build a solid bar extension. I looked at several designs on various websites and decided I wanted one that was heavy duty enough to support the weight without needing a dolly wheel under the front of the trailer. I wanted about 15 feet of extension, and it needed to be easily installed, removed, and stowed on the trailer.
Plan A.
First, off to the local metal shop, where I purchased 15 feet of galvanized steel, in the same dimension as the steel on the trailer’s tongue (3″x5″). I think it’s possible to go with something smaller, but not knowing how it would handle the load I decided to stay with the original dimensions.
Next, I ordered a 2-5/8″ hitch coupler from Amazon on the front of the hitch extension, which would connect to the tow vehicle’s ball without having to switch ball sizes.
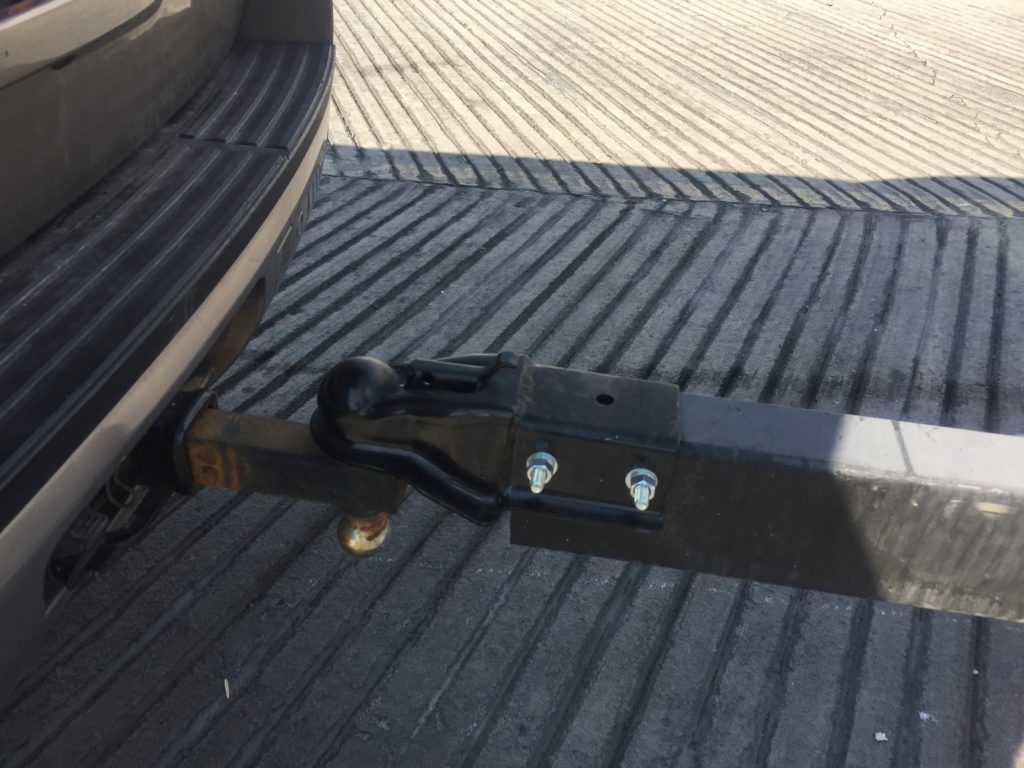
Then, I had the terrible idea of simply bolting the hitch extension alongside the trailer’s tongue. Two large bolts, spaced about 2 feet apart, seemed like they would do the trick. However, the weight of the trailer bent the bolts and the extension sagged to about 2 inches off the ground. It was enough to launch it the first year, but I knew I’d need a sturdier connection between extension bar and trailer by the time we hauled out in fall.
Plan B.
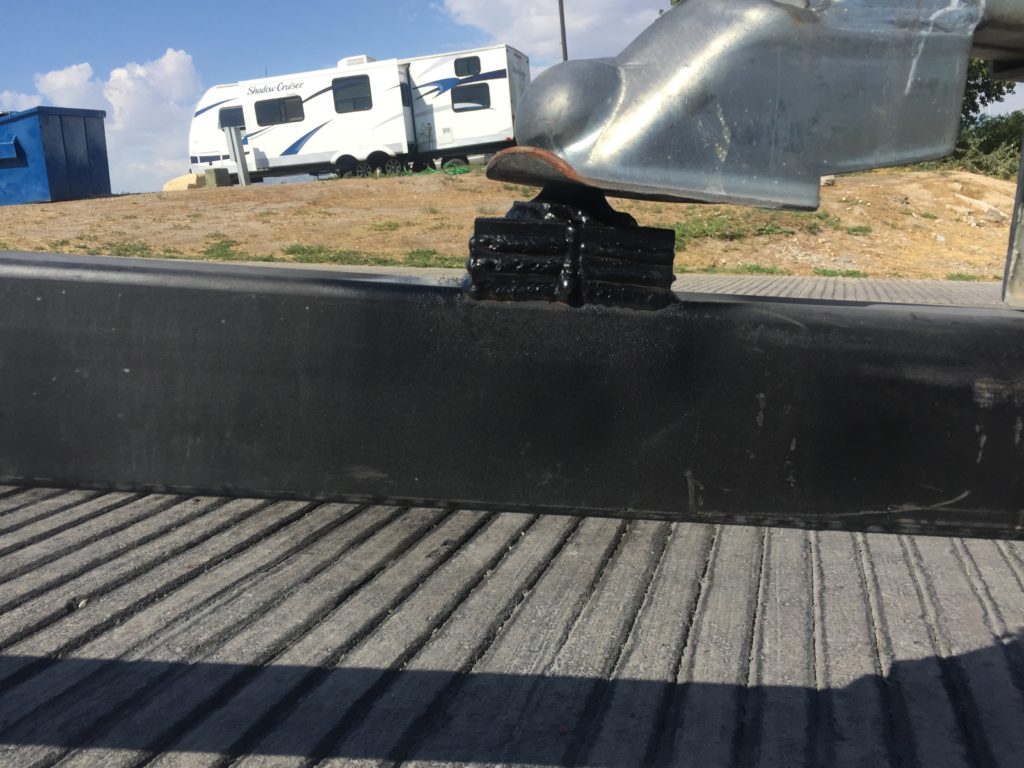
I ordered a 2- 5/8″ trailer ball to mount on the top of the extension bar. This ball would lock into the trailer hitch. At the back end of the bar, I planned to have two bars welded on that would hug the sides of the trailer tongue and be secured on top with a hitch pin.
The bars I chose were half inch thick steel. This is how I ended up with 27 stitches. My battery powered drill would never make it through, so I ran to the hardware store to pick up a corded drill. The drill I’d planned to buy was good, but when I got there I found a higher amperage drill on sale for less. More power for less money? Yes, please. So I walked out of the store with a 9 amp Hitachi drill.
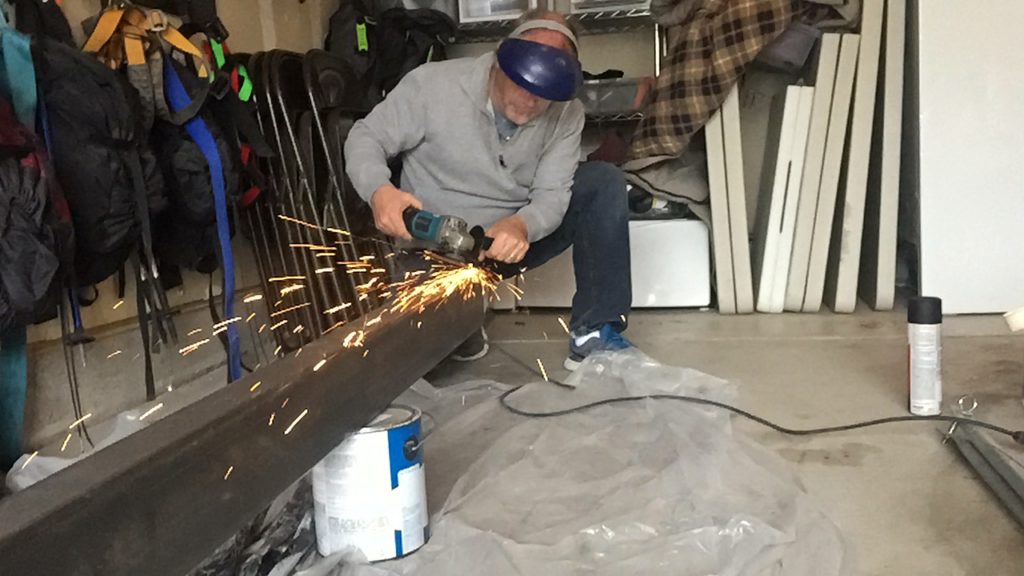
I lifted my 25 lbs vice off the workbench and set it on the garage floor for safety. I locked the steel in the vice and started drilling, stopping every 30 seconds or so to add some oil into the hole. The whole operation felt pretty safe until the drillbit punched through the back side of the steel. That’s when the full fury of all 9 amps was unleashed. That monster drill grabbed the steel bar and 25 pound vice and spun them in circles so fast that by the time I let go of the trigger it had spun around 2 full times. I felt something had hit the back of my leg, and glancing down, realized I was in trouble. The half inch bar traveling at 9 amps had laid open the back of my calf. It was going to need stitches. And not a few, because as it turns out, half inch steel is not a very precise cutting implement.
On the drive over to the hospital, I used Intermountain Healthcare’s “ConnectCare” telehealth app on my phone. It was amazing, I could actually show the doctor a video of the wound from the car so she could tell me if I needed to go straight to the emergency department, or just a clinic. One emergency department visit and 27 stitches later, I was good to go. And I only had one more bar to drill through. It took me two weeks to get the courage to do it.
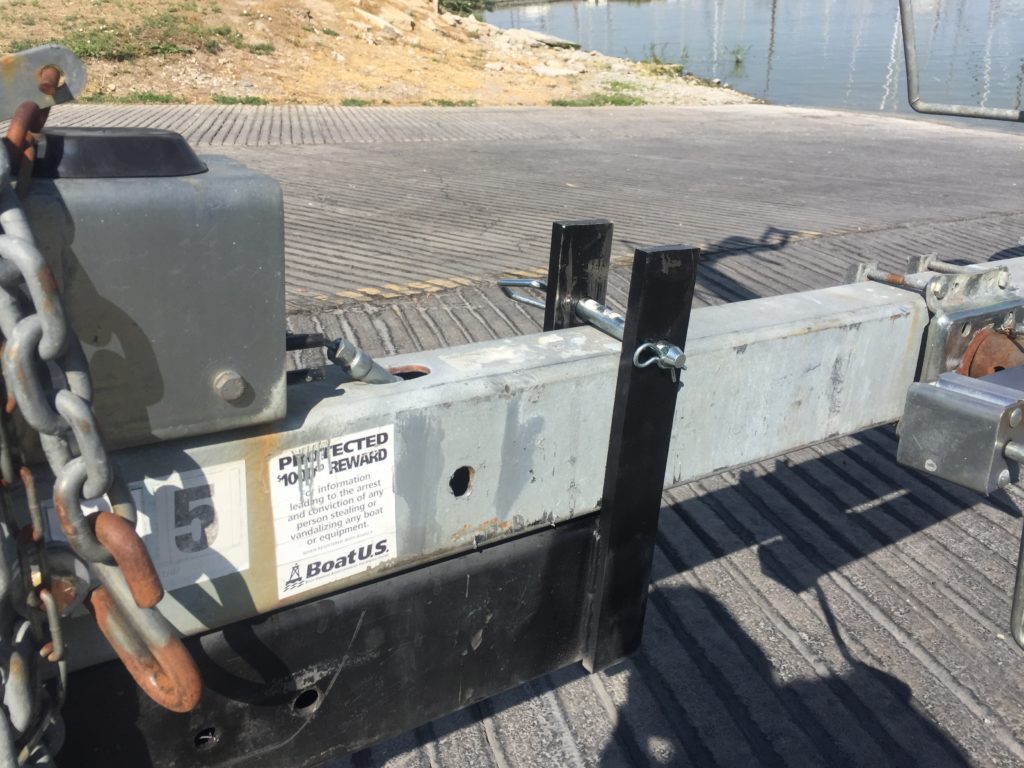
But the end result was a great trailer extension. It’s very sturdy, able to hold the front of the trailer at the same height over the full length of the bar. It also has enough ground clearance that I can attach it on flat pavement and drive it over the edge of the road onto the ramp without bottoming out. This makes work on the ramp much safer, because the trailer is never unhitched from the tow vehicle while on the incline. I also have an impressive scar on the back of my leg which I refer to proudly as “a sailing injury.”