

 Next was some followup work on the outboard. I have been completely satisfied with my Tohatsu 9.8 outboard, which I purchased several years ago. The only problem I have had was my own fault. Usually when I am done sailing I unplug the fuel line and let the engine burn off the last of the gas in the carburetor while I stow sails and secure the boat. This makes sure that fuel won’t evaporate in the carburetor and clog it up. Unfortunately, I failed to do this one time last year, and then the boat sat for a couple weeks in 100+ degree temperatures, and the fuel clogged the carburetor.
 Next up: fresh teak oil. Last year we weren’t as careful applying the teak oil, and when some of it got on the fiberglass it left a bit of a stain on the fiberglass. After a few months, the stains washed out.
 I found a great way to check the keel cable turning ball. I held my cell phone over the keel cable tube, and took a picture with the flash. By taking one picture from above and another from below, it was pretty easy to see that the ball still is in good condition, and the hose seems to be in good shape.
With all this done, I was ready to put the boat in. However the weather and kids schedules weren’t entirely cooperating, so I had another couple of days on my hands.
I was enjoying work on the boat so much, I decided to take on the big job that was years overdue. Time to rewire the boat!
Most of the boat’s original wiring (from 1977) was showing signs of age. And over the years, several things had been added by stripping wires and wads of electrical tape. The battery compartment was a nest of wires.

I also needed to replace the original switch panel to accommodate several new items like a stereo, vhf radio, bilge pump, auxiliary outlet, and depth finder.

It took two days to rewire the boat, along with several trips to the marine supply and auto zupply stores. I used waterproof shrink tubing on every connection, replaced all the old wiring, and then used plastic tubing to route the wires and secure them out of the way with zip ties and adhesive hangers to keep the wires out of the bilges.

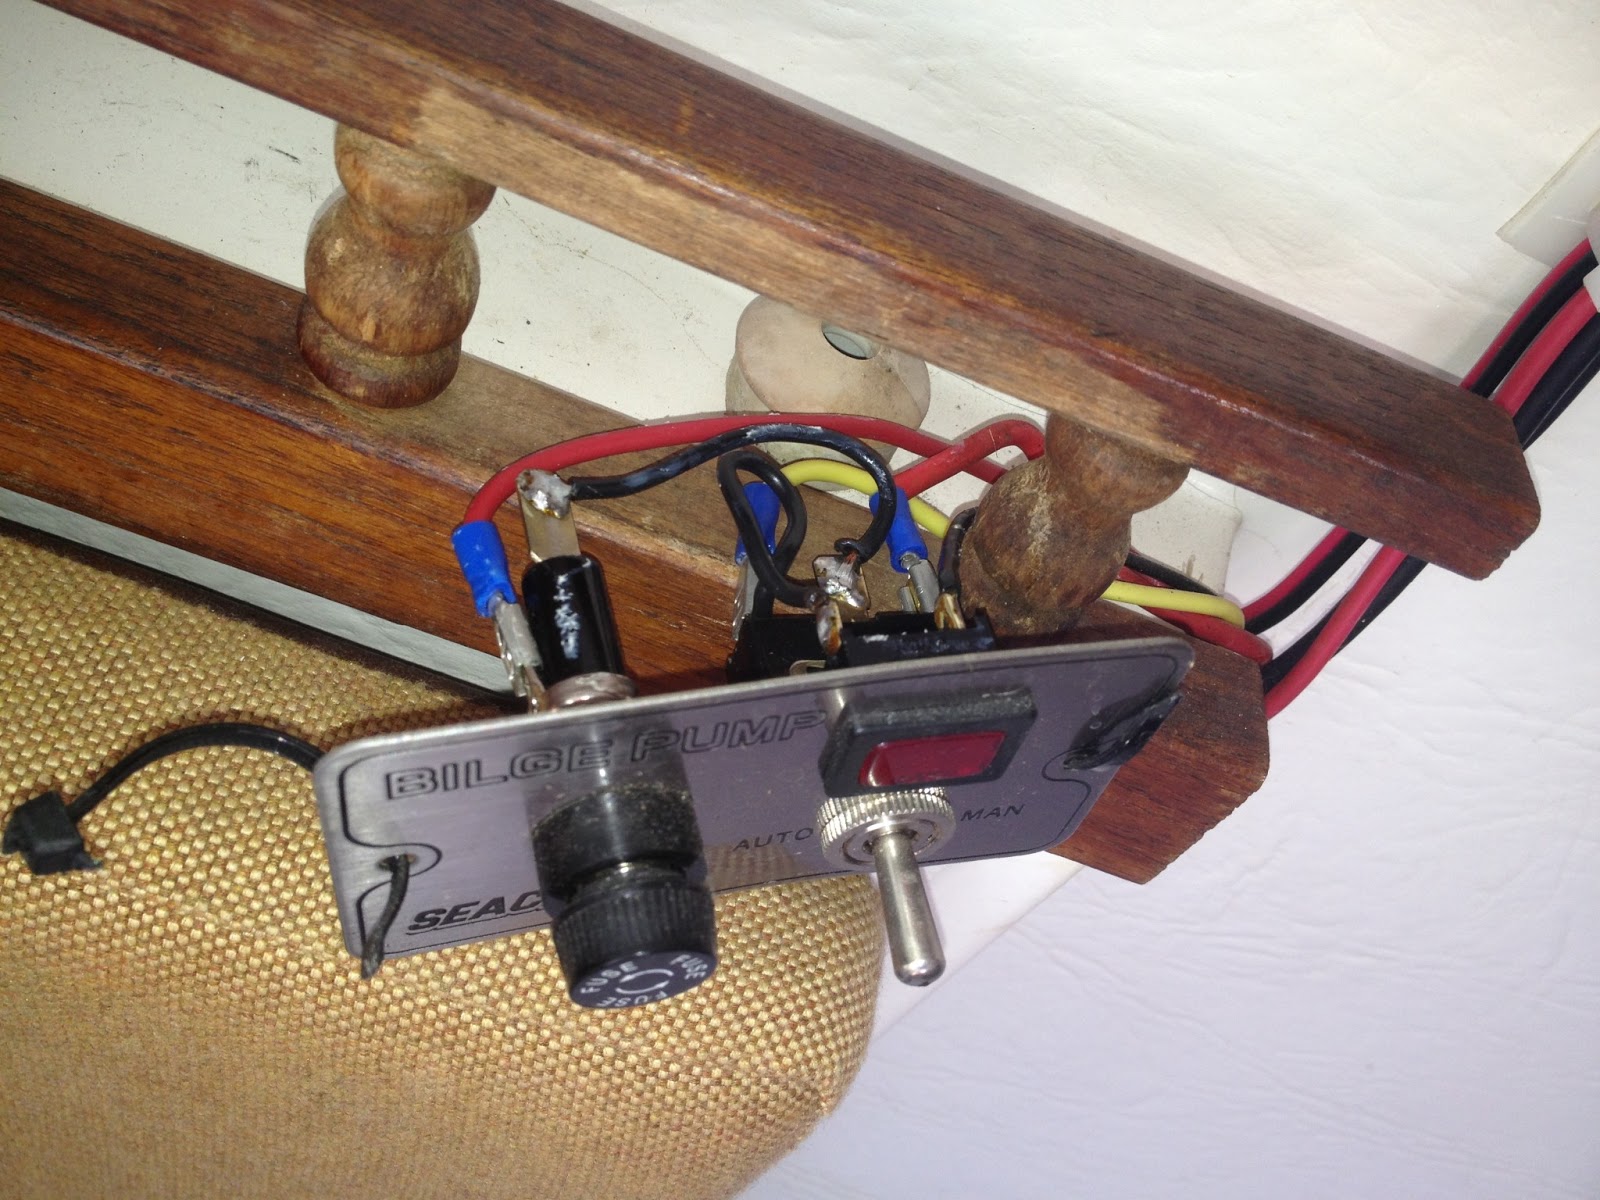
I also had to cut new openings in the bulkhead panel above the galley to mount the larger switch panel, battery tester, battery switch, and bilge pump switch.
It was a lot of work, but well worth the effort. The only remaining electrical task on my to do list is to replace the deck connector for the mast wiring. (I rewired the mast a few years ago.)